Project Report
Introduction
Neural Style Transfer (NST) refers to a class of software algorithms that manipulate digital images, or videos, in order to adopt the appearance or visual style of another image. NST algorithms are characterized by their use of deep neural networks for the sake of image transformation.
In fine art, especially painting, humans have mastered the skill to create unique visual experiences through composing a complex interplay between the content and style of an image. In this project, we reimplement the work done by Gatys et al. in A Neural Algorithm of Artistic Style . Their paper uses an artificial system based on a Deep Neural Network that creates artistic images of high perceptual quality. The system uses neural representations to separate and recombine content and style of arbitrary images, providing a neural algorithm for the creation of artistic images.
Technical Details
1. Algorithm Overview
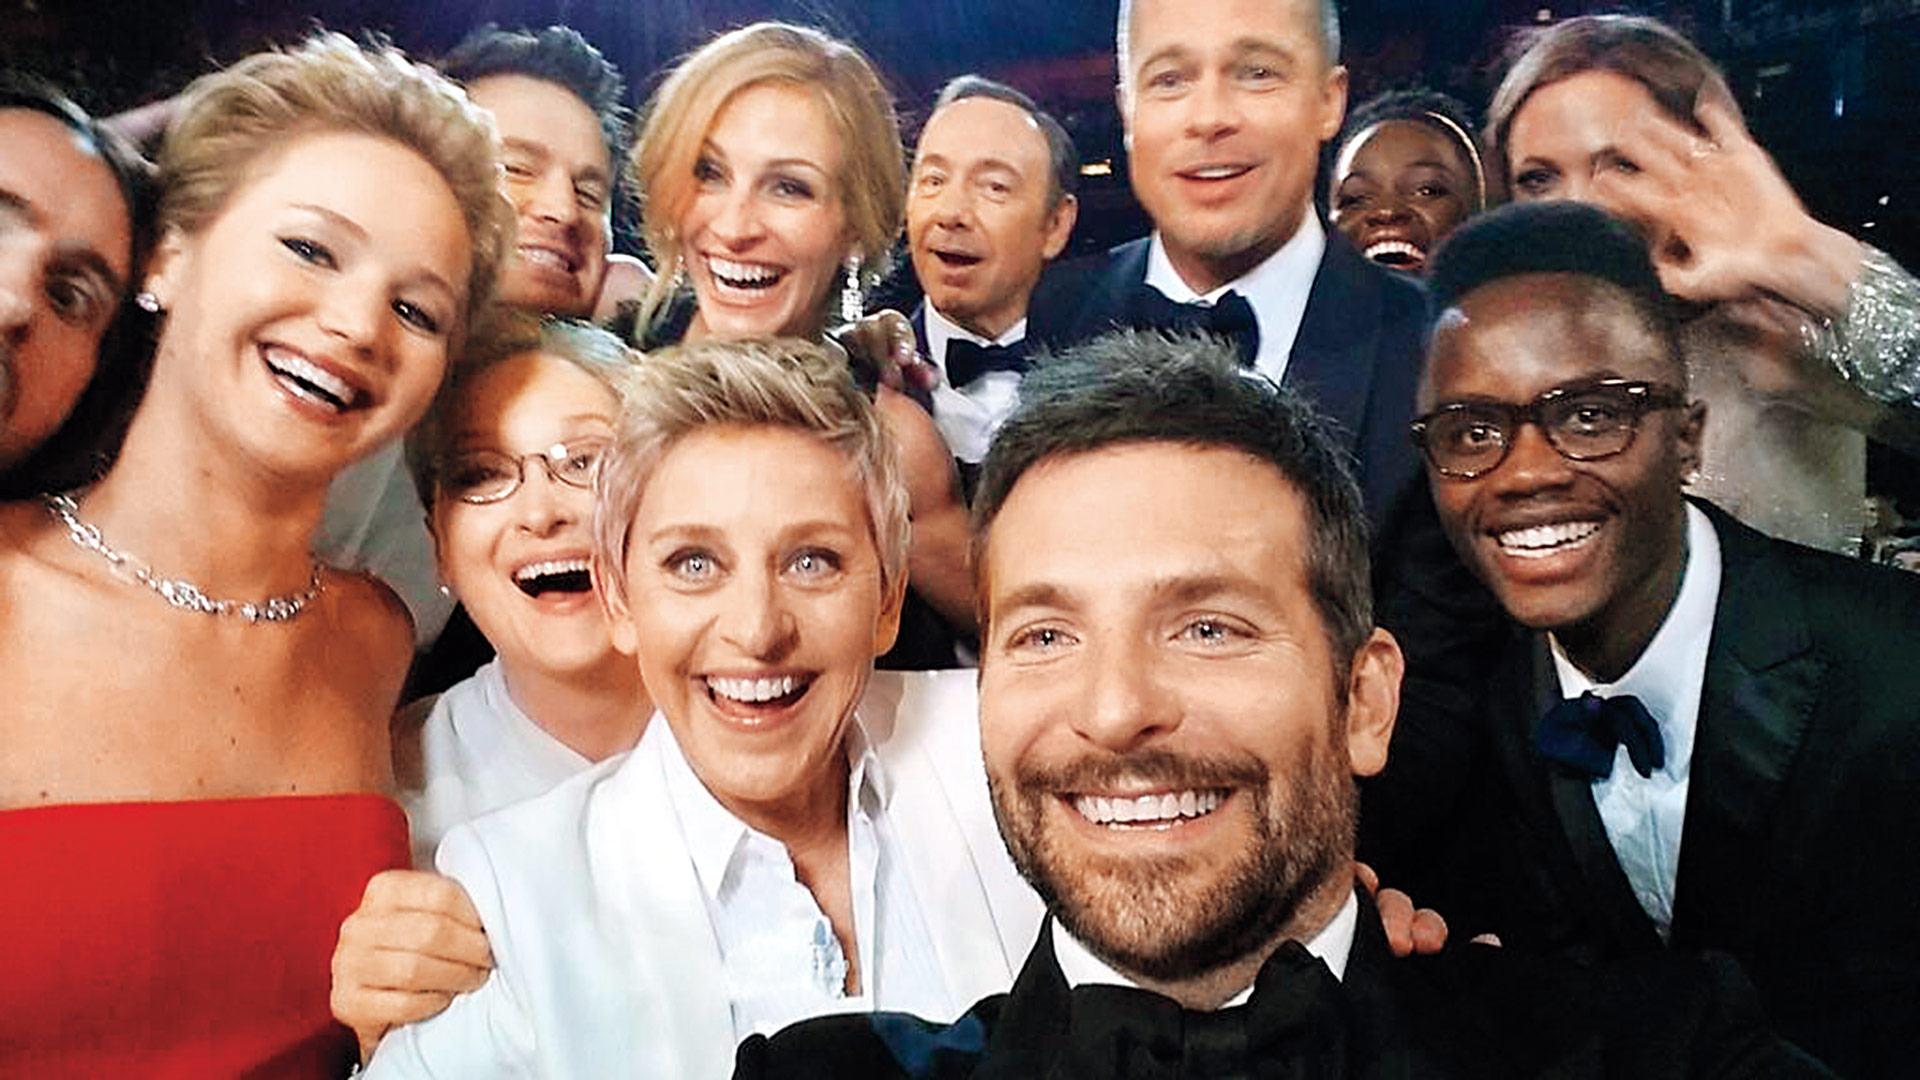
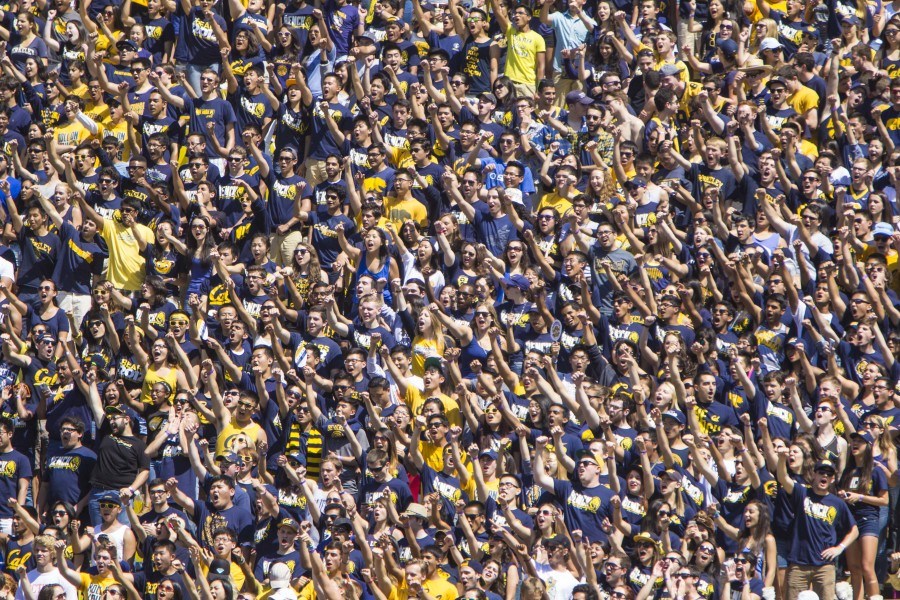
Here's an extremely brief overview of the general process here. We start with two images, one content image & one style image. We want to generate a new image that has the features of the content image with the 'style' of the style image. We define two loss functions, one scores how close the features in our new image are to the features in the content image [content loss] and the other one scores how well the style has been recreated on our image [style loss]. The two loss functions operate on the activations of different layers of the network and compare the activations of our generated image to the activations computed by the content & style image respectively. We compute the total loss by weighting these together and then backprop to find pixel-level gradients for our generated image and then optimize for it (all without changing the weights/biases of the model). We repeat this process until we have results we're happy with.
2. Model Architecture
For style transfer we decided to go with a VGG-19 network as described here. The major modifications were adding a normalization layer at the top so all input images (even mid-iteration noise images) get normalized using ImageNet metrics (the PyTorch model used was trained with this as a preprocessing step). Other than that, we got rid the entire classification part of the network as we only care about the activation volumes at some key layers and not the actual predictions for the images fed.
| Layer | Output Shape | Param # | |
|---|---|---|---|
| 0 | Normalization-1 | [-1, 3, 224, 224] | 0 |
| 1 | Conv2d-2 | [-1, 64, 224, 224] | 1,792 |
| 2 | ReLU-3 | [-1, 64, 224, 224] | 0 |
| 3 | Conv2d-4 | [-1, 64, 224, 224] | 36,928 |
| 4 | ReLU-5 | [-1, 64, 224, 224] | 0 |
| 5 | AvgPool2d-6 | [-1, 64, 112, 112] | 0 |
| 6 | Conv2d-7 | [-1, 128, 112, 112] | 73,856 |
| 7 | ReLU-8 | [-1, 128, 112, 112] | 0 |
| 8 | Conv2d-9 | [-1, 128, 112, 112] | 147,584 |
| 9 | ReLU-10 | [-1, 128, 112, 112] | 0 |
| 10 | AvgPool2d-11 | [-1, 128, 56, 56] | 0 |
| 11 | Conv2d-12 | [-1, 256, 56, 56] | 295,168 |
| 12 | ReLU-13 | [-1, 256, 56, 56] | 0 |
| 13 | Conv2d-14 | [-1, 256, 56, 56] | 590,080 |
| 14 | ReLU-15 | [-1, 256, 56, 56] | 0 |
| 15 | Conv2d-16 | [-1, 256, 56, 56] | 590,080 |
| 16 | ReLU-17 | [-1, 256, 56, 56] | 0 |
| 17 | Conv2d-18 | [-1, 256, 56, 56] | 590,080 |
| 18 | ReLU-19 | [-1, 256, 56, 56] | 0 |
| 19 | AvgPool2d-20 | [-1, 256, 28, 28] | 0 |
| 20 | Conv2d-21 | [-1, 512, 28, 28] | 1,180,160 |
| 21 | ReLU-22 | [-1, 512, 28, 28] | 0 |
| 22 | Conv2d-23 | [-1, 512, 28, 28] | 2,359,808 |
| 23 | ReLU-24 | [-1, 512, 28, 28] | 0 |
| 24 | Conv2d-25 | [-1, 512, 28, 28] | 2,359,808 |
| 25 | ReLU-26 | [-1, 512, 28, 28] | 0 |
| 26 | Conv2d-27 | [-1, 512, 28, 28] | 2,359,808 |
| 27 | ReLU-28 | [-1, 512, 28, 28] | 0 |
| 28 | AvgPool2d-29 | [-1, 512, 14, 14] | 0 |
| 29 | Conv2d-30 | [-1, 512, 14, 14] | 2,359,808 |
| 30 | ReLU-31 | [-1, 512, 14, 14] | 0 |
| 31 | Conv2d-32 | [-1, 512, 14, 14] | 2,359,808 |
| 32 | ReLU-33 | [-1, 512, 14, 14] | 0 |
| 33 | Conv2d-34 | [-1, 512, 14, 14] | 2,359,808 |
| 34 | ReLU-35 | [-1, 512, 14, 14] | 0 |
| 35 | Conv2d-36 | [-1, 512, 14, 14] | 2,359,808 |
| 36 | ReLU-37 | [-1, 512, 14, 14] | 0 |
| 37 | AvgPool2d-38 | [-1, 512, 7, 7] | 0 |
3. Model Hyperparameters & Deviations
We ended up with a fair enough of deviations from the paper to achieve results which were aesthetically pleasing for us. I'll try to document as much as I can so it's easier for people to reproduce results should they want to. So here's a list of notable changes & major parameters we used for our implementation.
-
Loss Functions: The biggest change was that I weighted the loss function in the paper using the number of elements in the content layer activations.
This was done for two key reasons -- To make sure the content loss doesn't blow with the size of the activation volume (different layers w/ different volumes would yield very different content losses).
- To bring the content & style losses closer together, without it the unweighted content loss completely overshadows the unweighted style loss.
- Loss Layers: Used the same style layers as the paper but used conv1_1 or conv1_2 as the content loss layer for most of our results. This gave sharper content lines which we preferred over more blended results.
- Image Sizes: Retained the aspect ratio of the content image, reshaped the style image accordingly. Interestingly, the size of the style image (wrt the content image) had a huge image on the aesthetics of the results. This essentially scaled how large & dense the textures from the style image are going to be. We used different ratios (style_im_size:content_im_size) for each case based on what looked the most appealing to us. General range: style image was 0.5x to 3x of content image, same aspect ratio. Would recommend starting with high resolution images & then resizing based on the GPU/time constraints instead of using low res images.
- Optimizer: Used Adam with learning rate 0.035; 1e-2 worked too but converged slow for us.
- Normalization Layer: This was quite important. Made the style appearance in results a lot more apparent. Need to normalize all images fed to the network so would 100% recommend making it a part of the model instead of a preprocessing pipeline.
- Pooling Layer: Replaced all the Max Pools with Average Pools and the resulting images got a noticebly more vibrant (got punchy colors from the style image with this).
- Image Initialization: There are a lot of different ways to go about image initialization. I tried starting off from content, style (resized to content), white, black, weighted average of content & style. Most of my results are starting off from content and my extremely high style loss basically performs style reconstruction starting at the content. Of course, starting at any of these biases the results in some way as they can end up at very different local minimas. I don't think this is a bad thing, we're creating art so this just gives us another knob to adjust! Not getting some artifacts from style that you want to get? Just start at 0.1 * style_im + 0.9 * content_im to push the optimizer in the right direction ;)
Results!
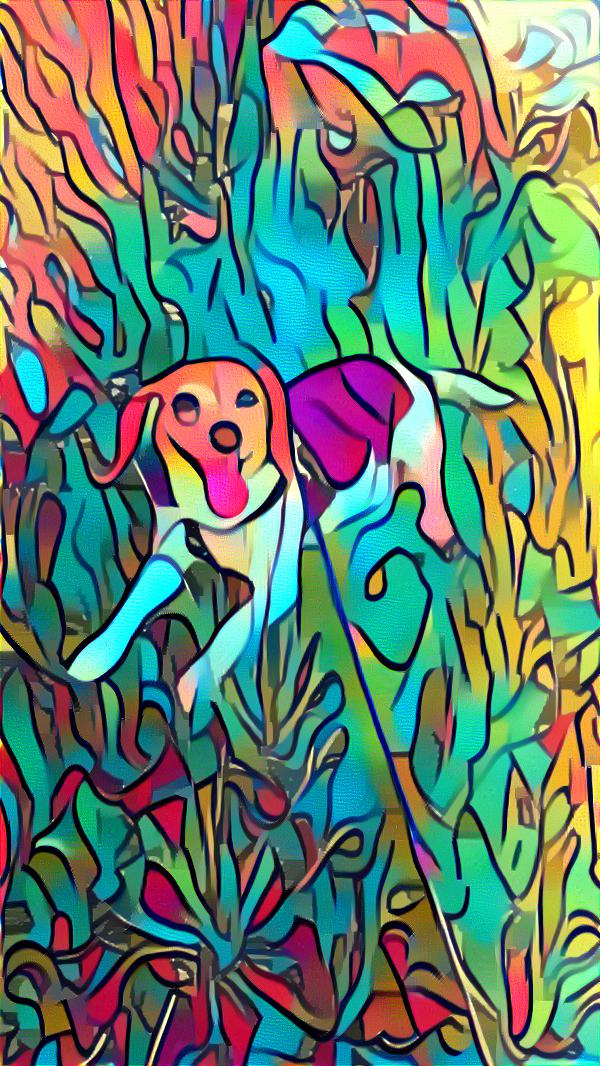
Finally! Time to see some nice photos :))

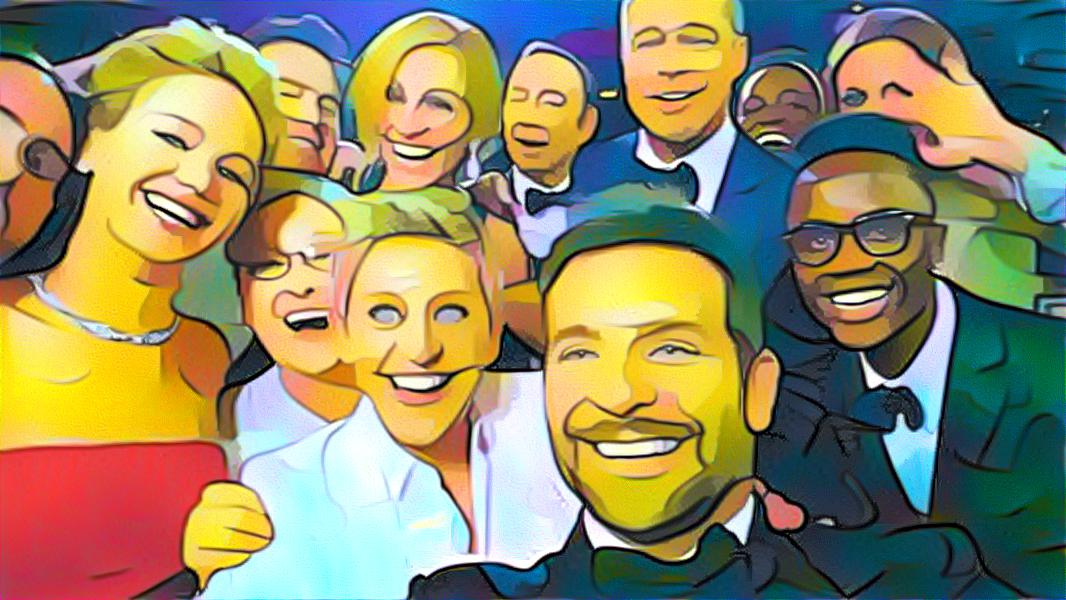

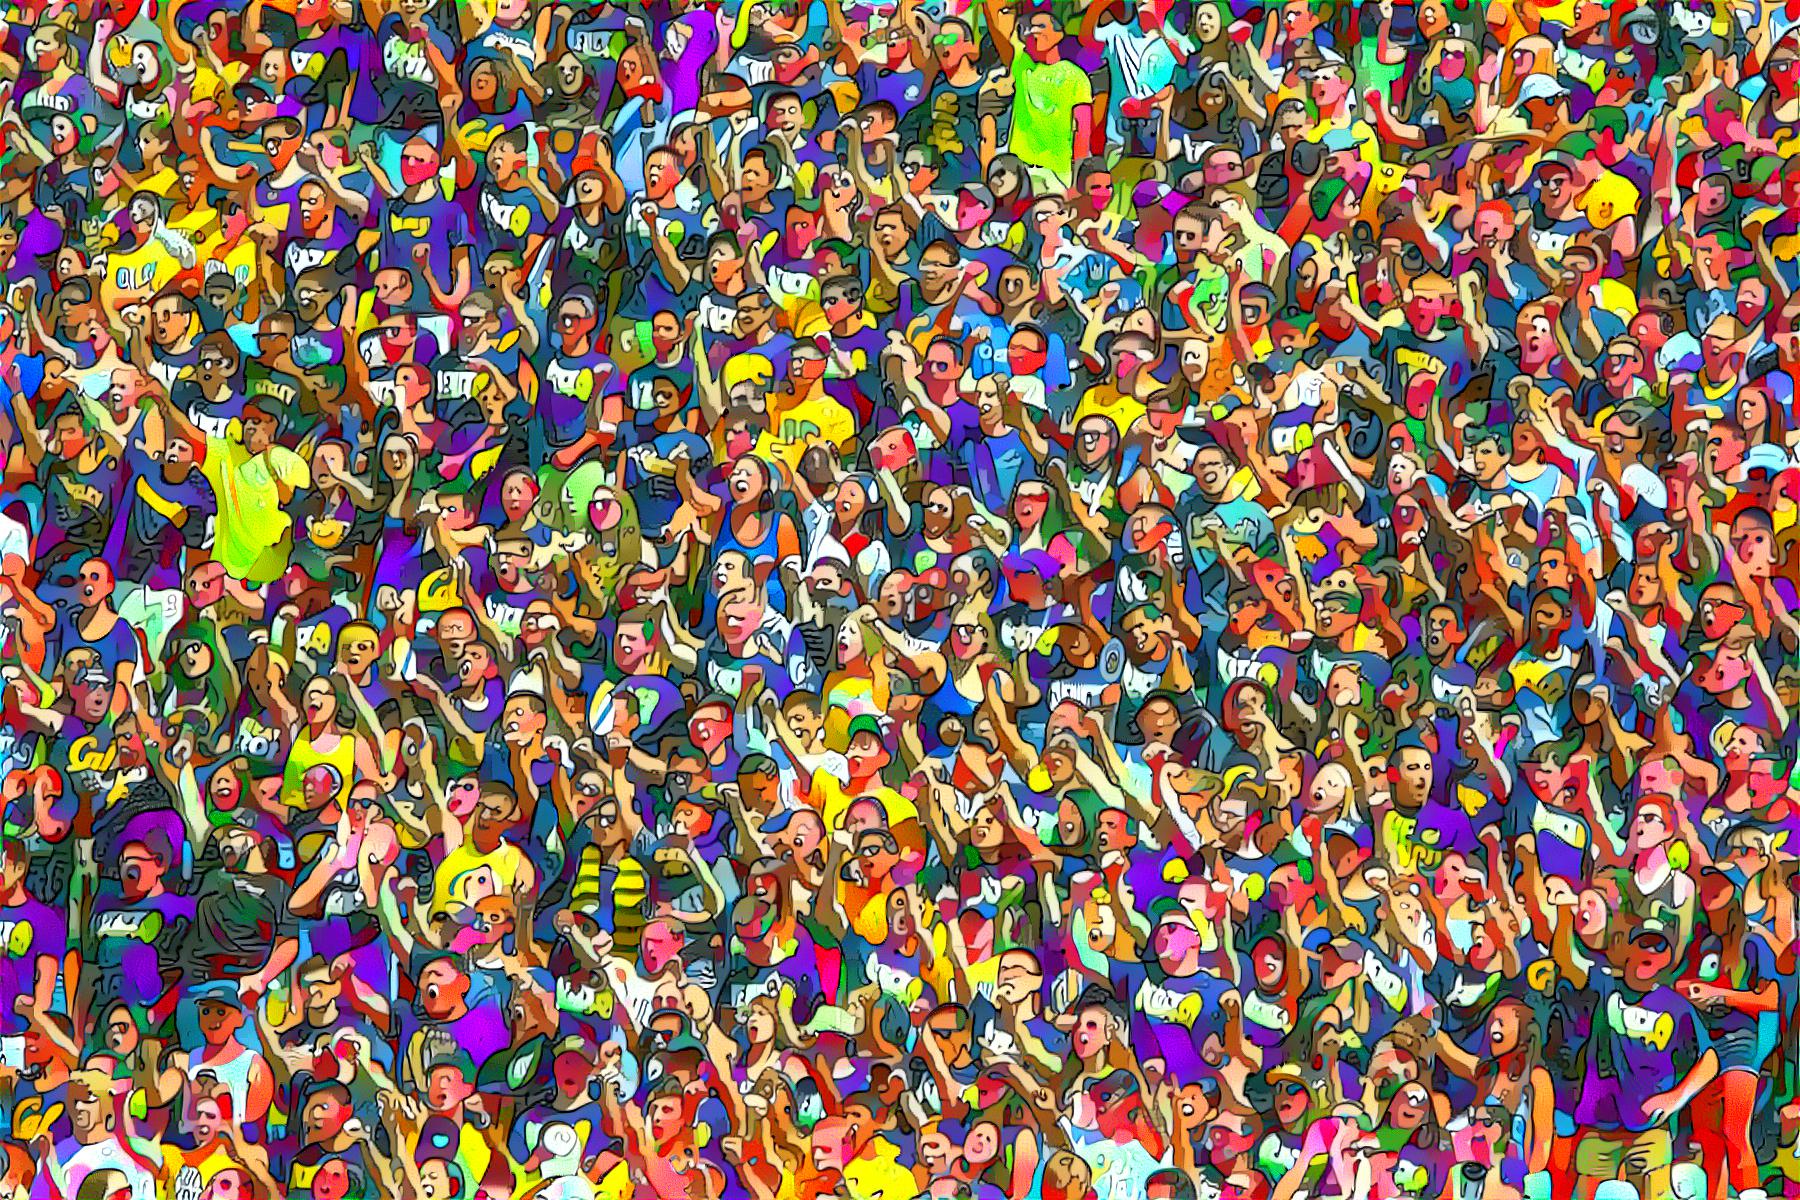
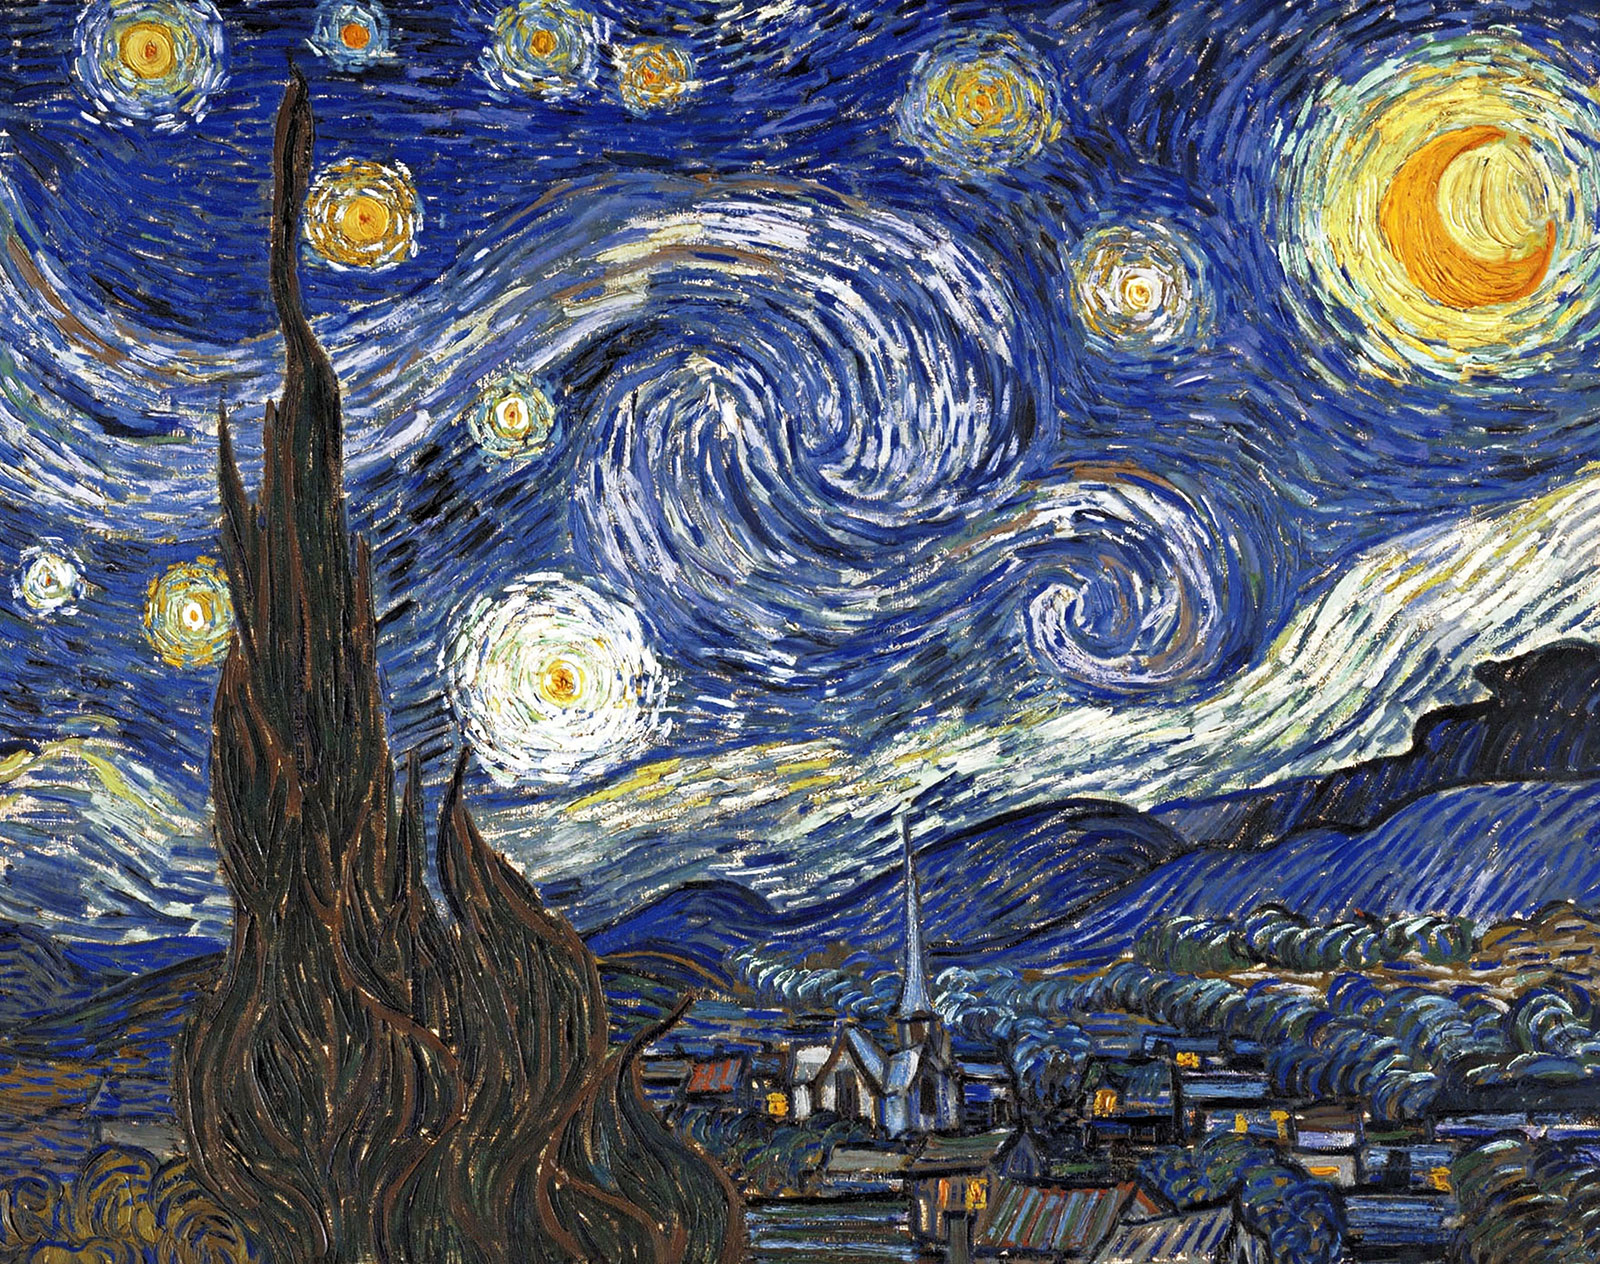

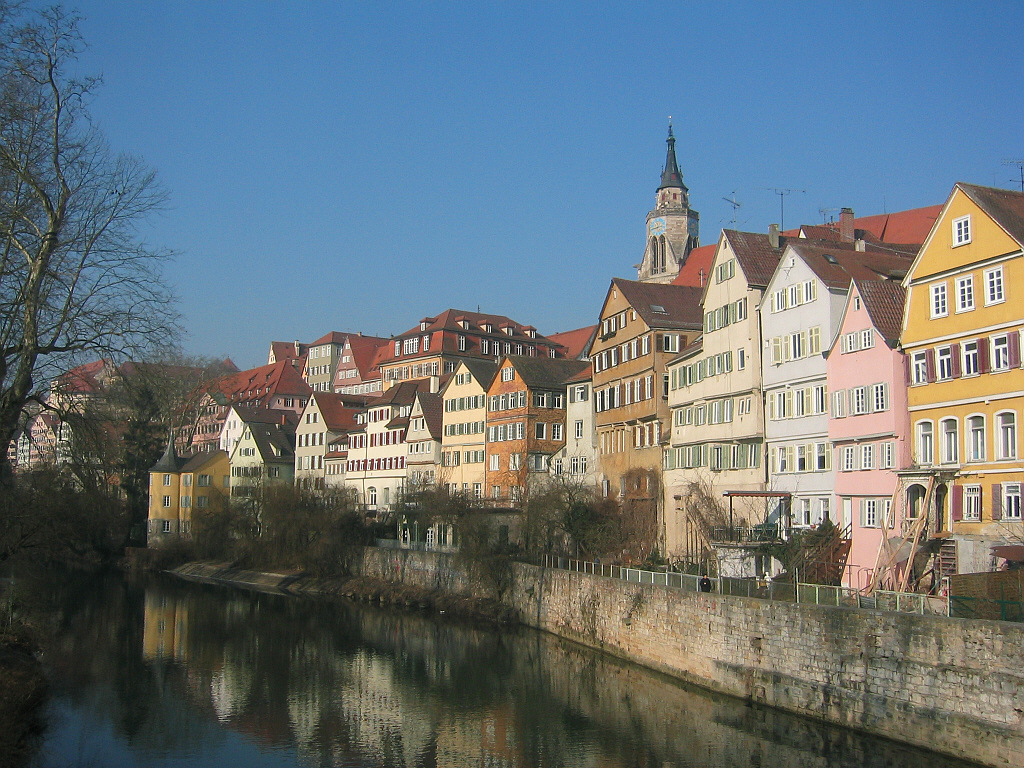
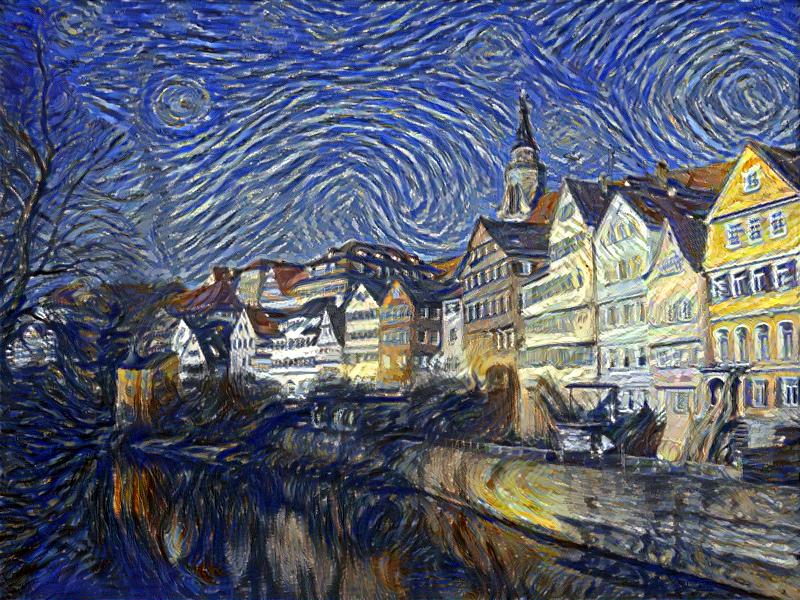
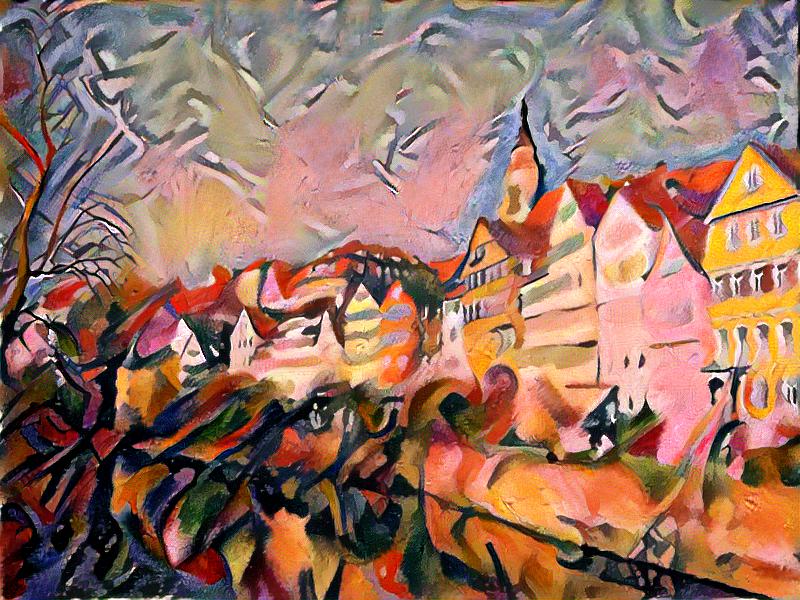

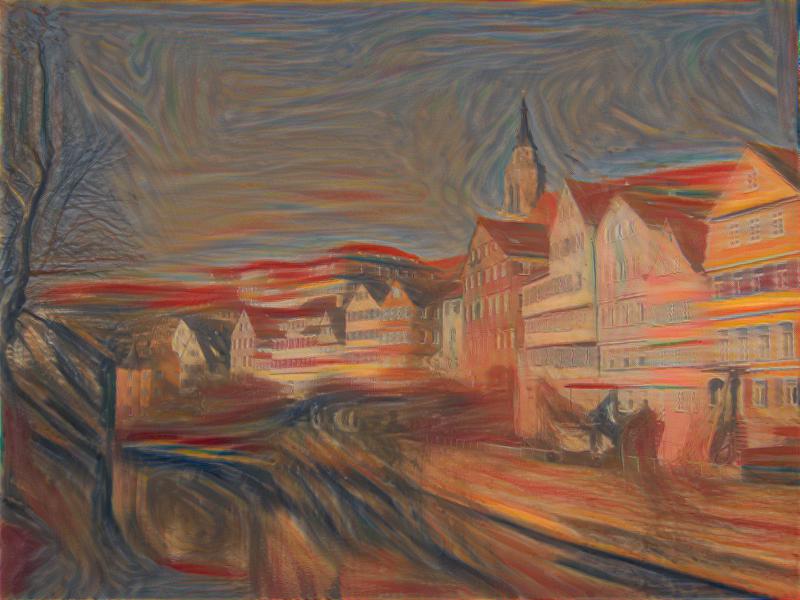

My results for neckarfront are a bit different in style from the paper but that is because I prefer this aesthetic and tweaked my hyperparameters & setup towards this. Their starry night style transfer was >>> That's the one I wasn't able to figure out the parameters for, maybe one day I will.